23 Sep How to Make a Ti & Kukui Nut Lei
Aloha!
We often post photos of lei that I enjoy making outside of my shop responsibilities. Recently, I received requests for instructions on how to make a Ti and Kukui nut lei. I consider myself a lifelong learner and continue to enjoy practicing new and old techniques and sharing in this special tradition. I’d like to acknowledge my Wilcox Elementary School teachers from the ’80s and ’90s and especially Kupuna Kaliloa and Kupuna Kon who would volunteer their time each week to teach us about Native Hawaiian practices and values. I recently located a copy of the 1986 film Ka Lei which introduced my elementary school classmates and me to lei techniques and native materials. It is available for checkout at any Hawaii State public library.
With gratitude and aloha,
Sara
Sales & Marketing
TI & KUKUI NUT LEI
Materials:
- 90″ string (45″ doubled)
- Sewing needle
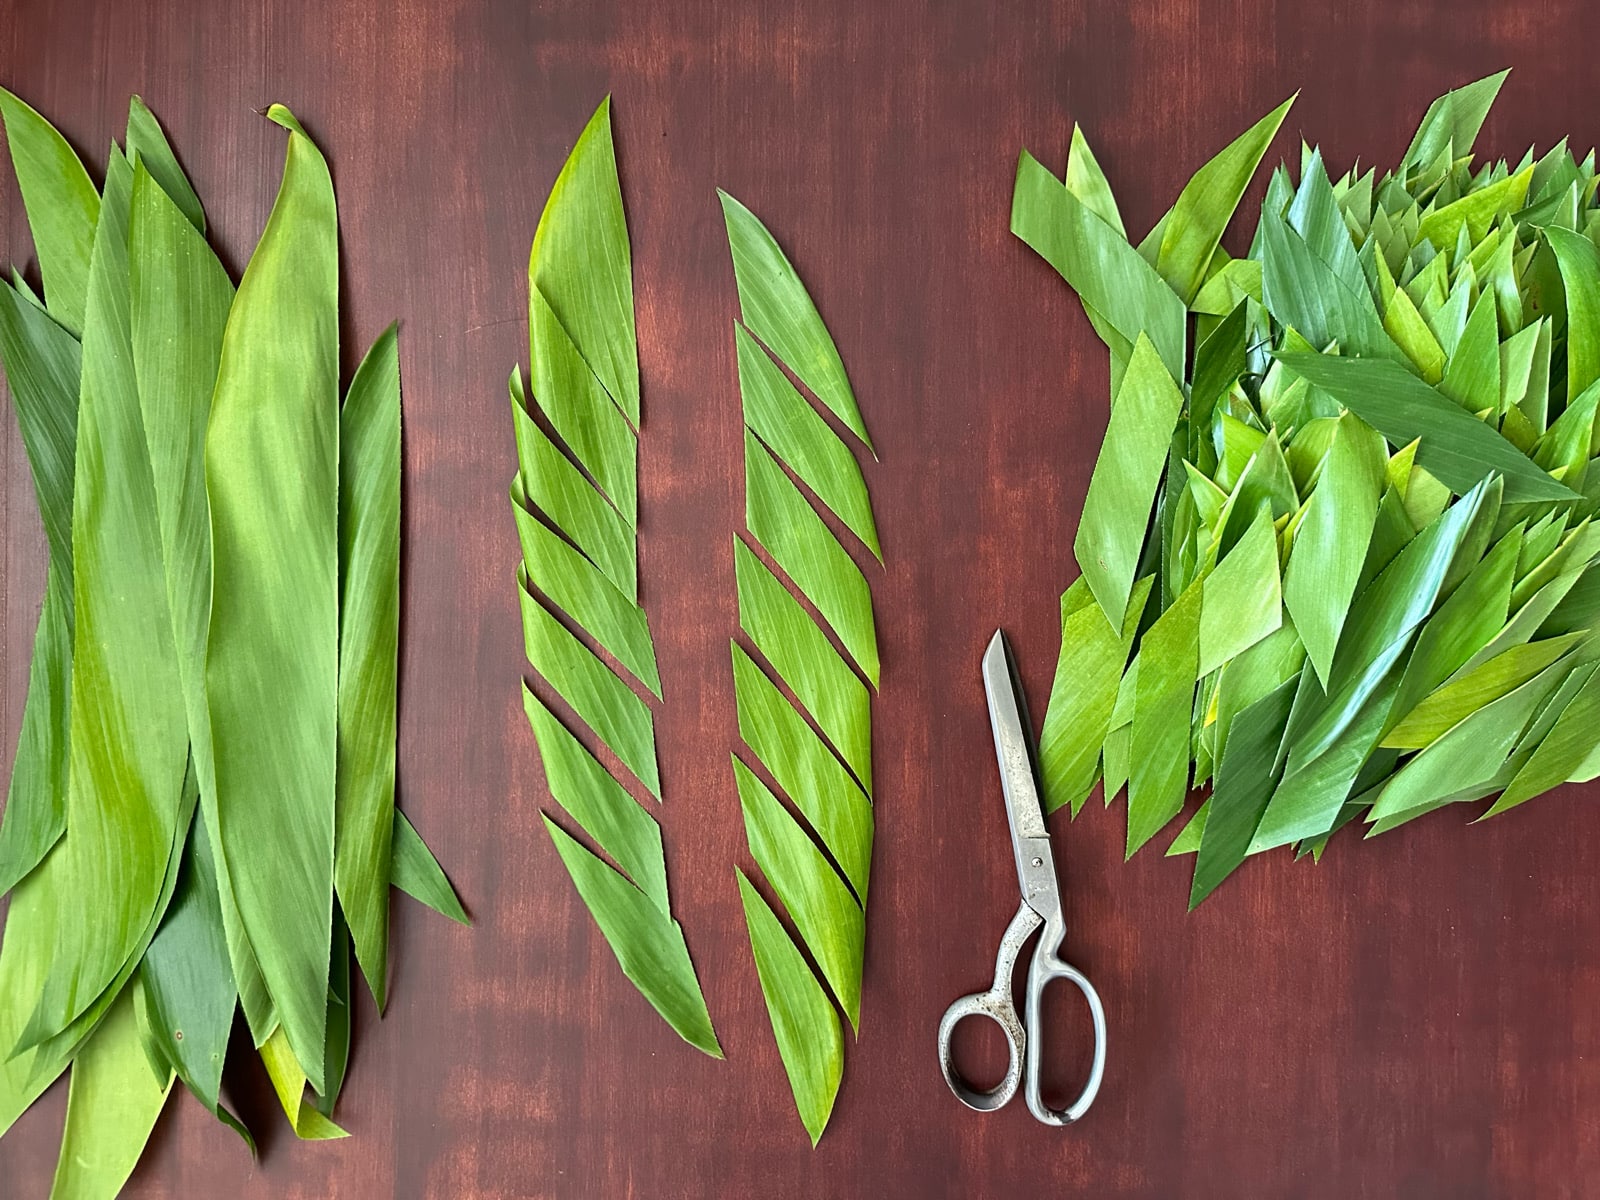
- 180 ti leaf strips cut into 4″ long x 3/4″ wide pieces (approximately 15 ti leaves, depending on the leaf size)
- 32 Kukui nuts
Directions:
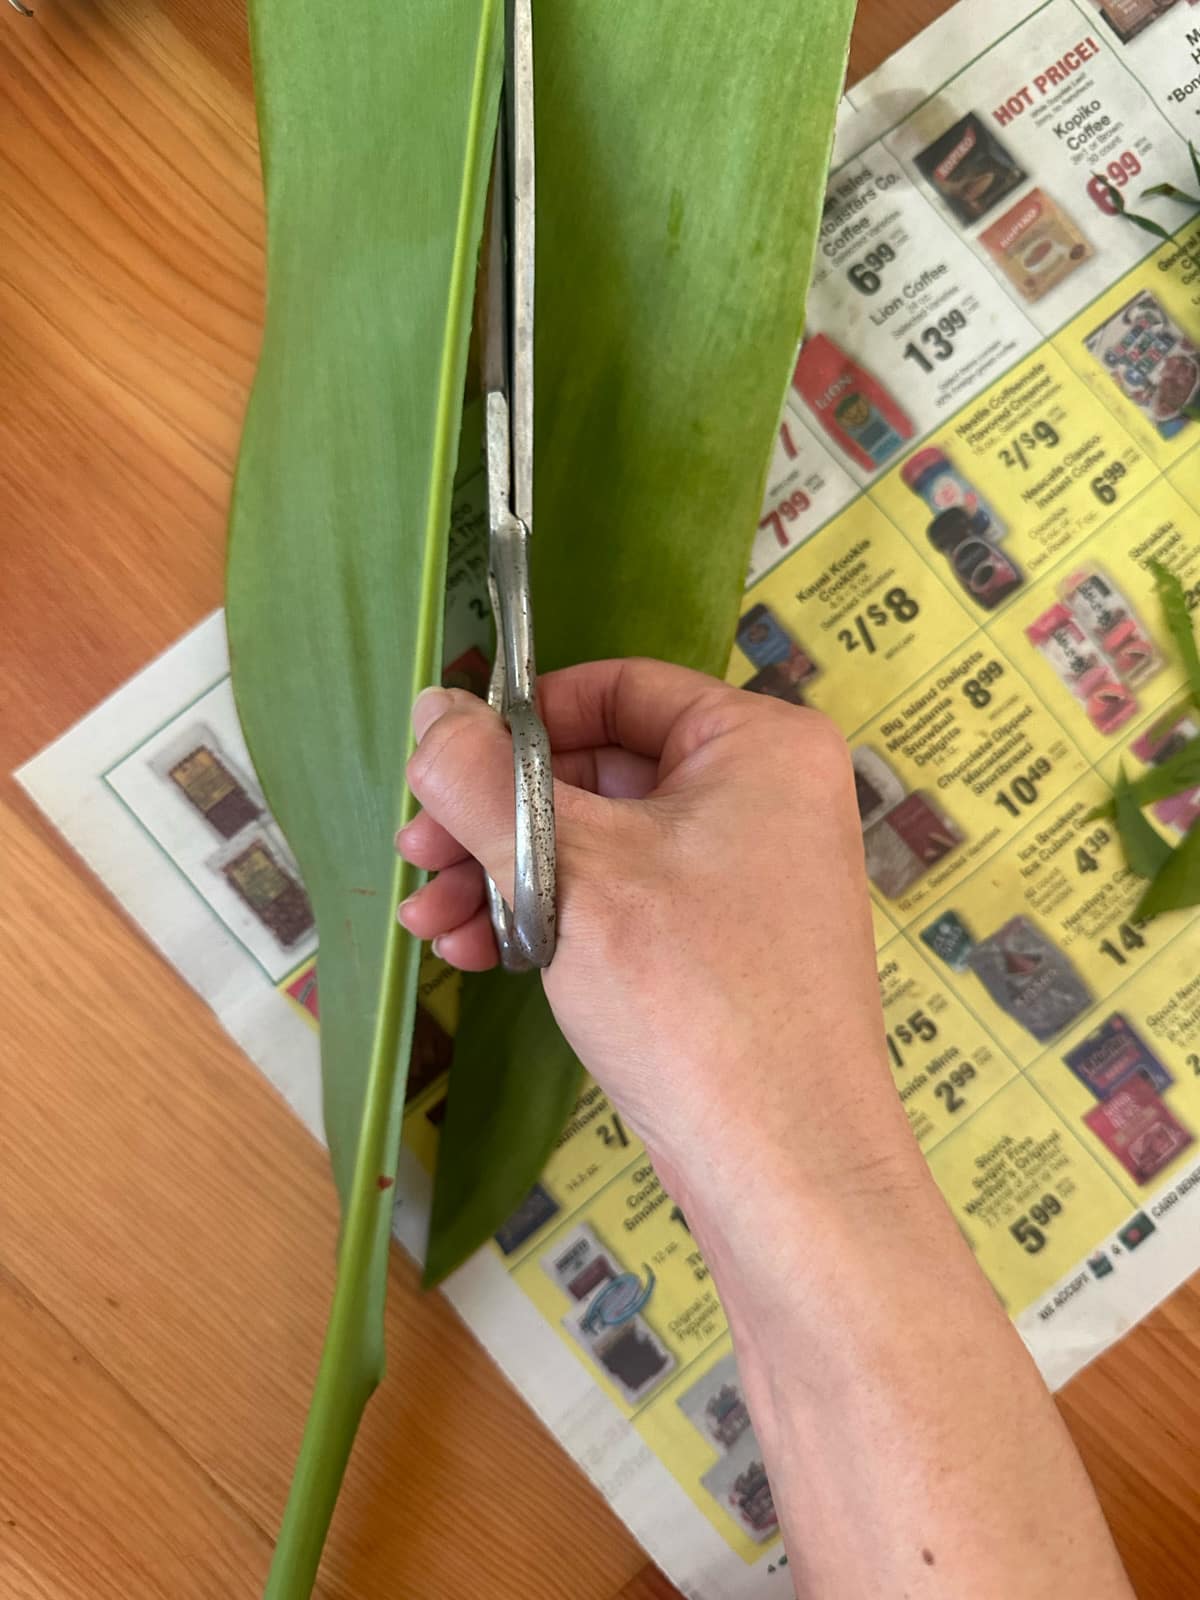
- Prepare your ti leaves: wash and cut each side off the mid rib.

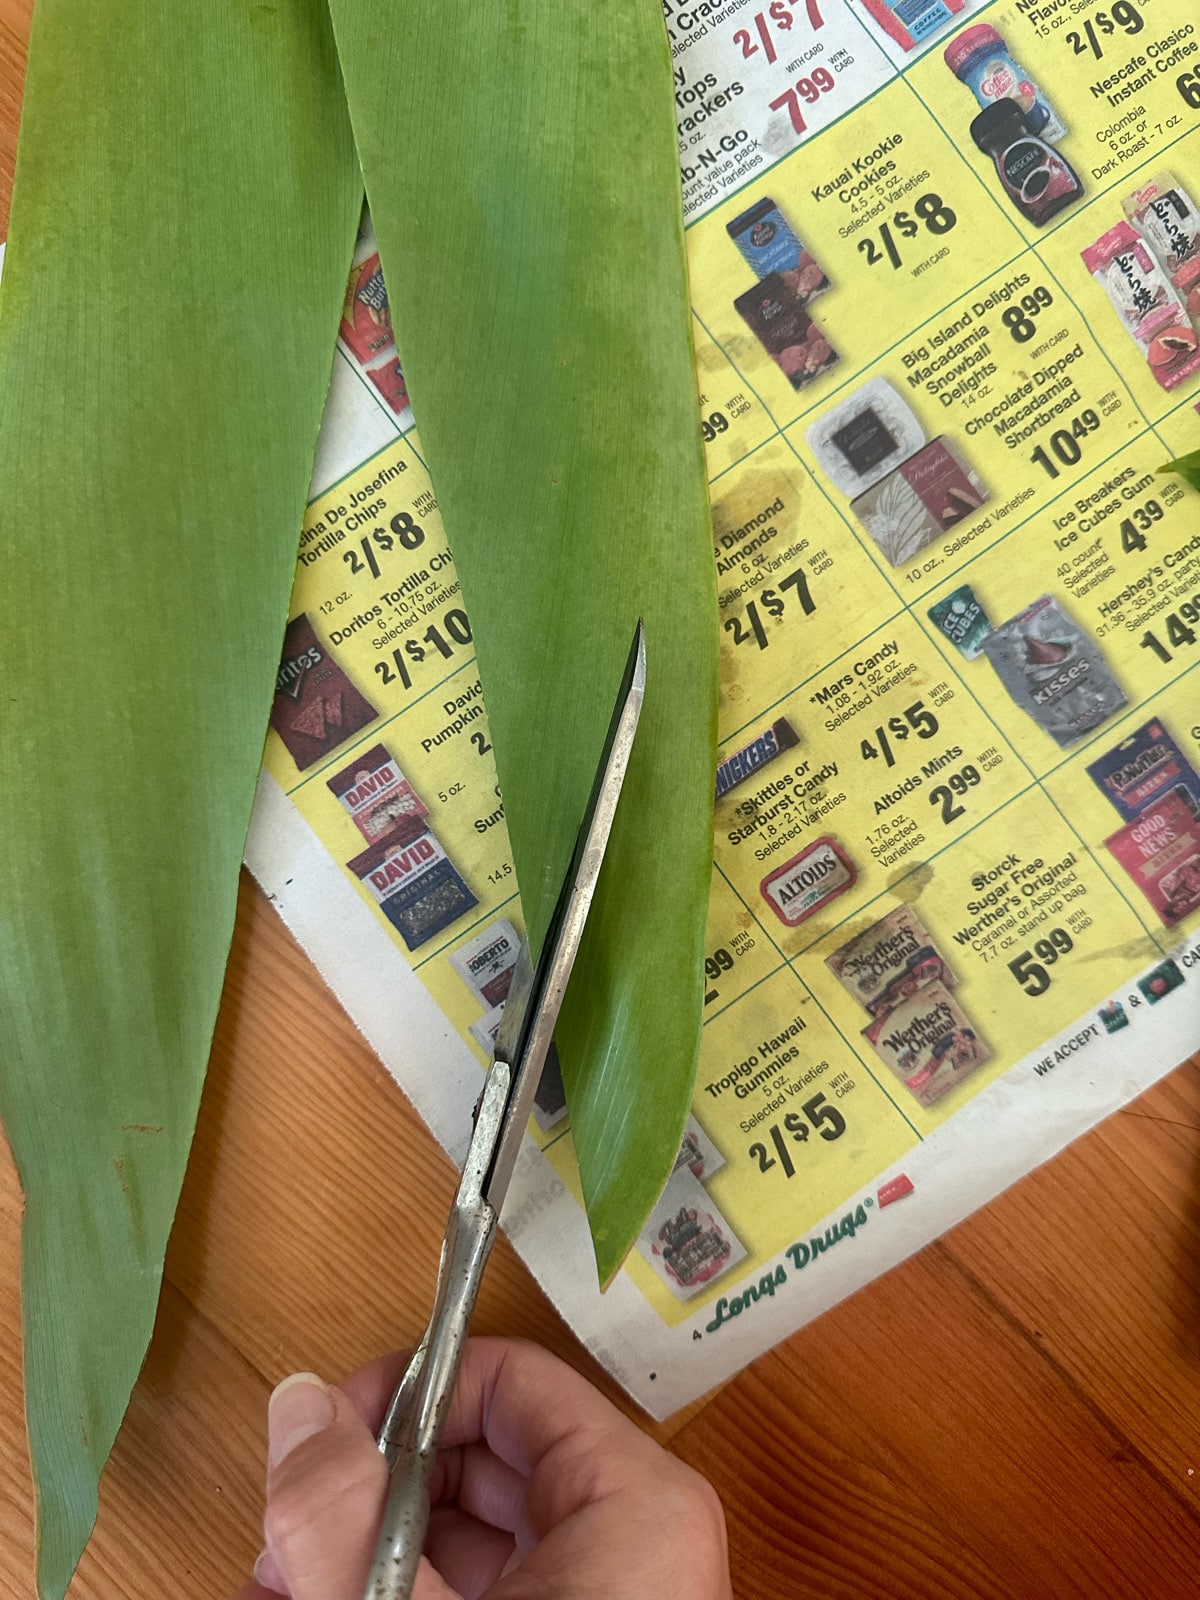
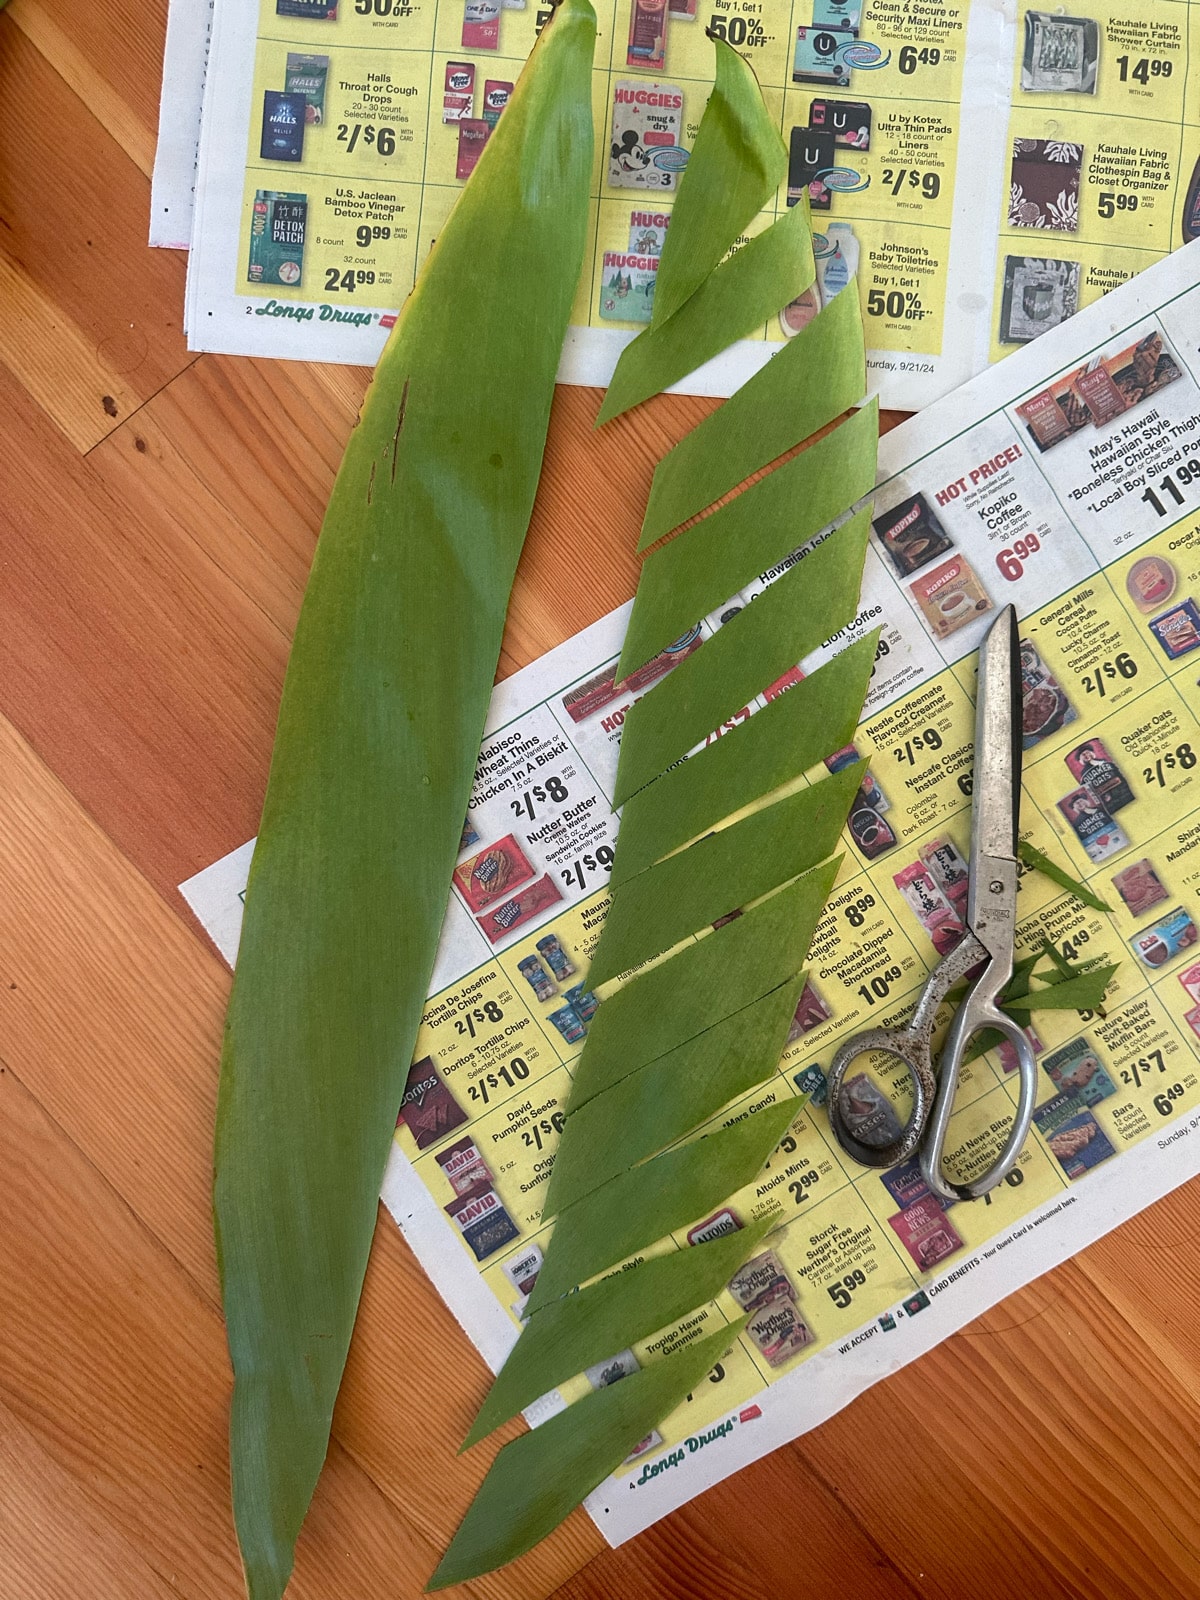
2. Make a diagonal cut following the leaves’ veins to create 4″ long x 3/4″ wide strips.
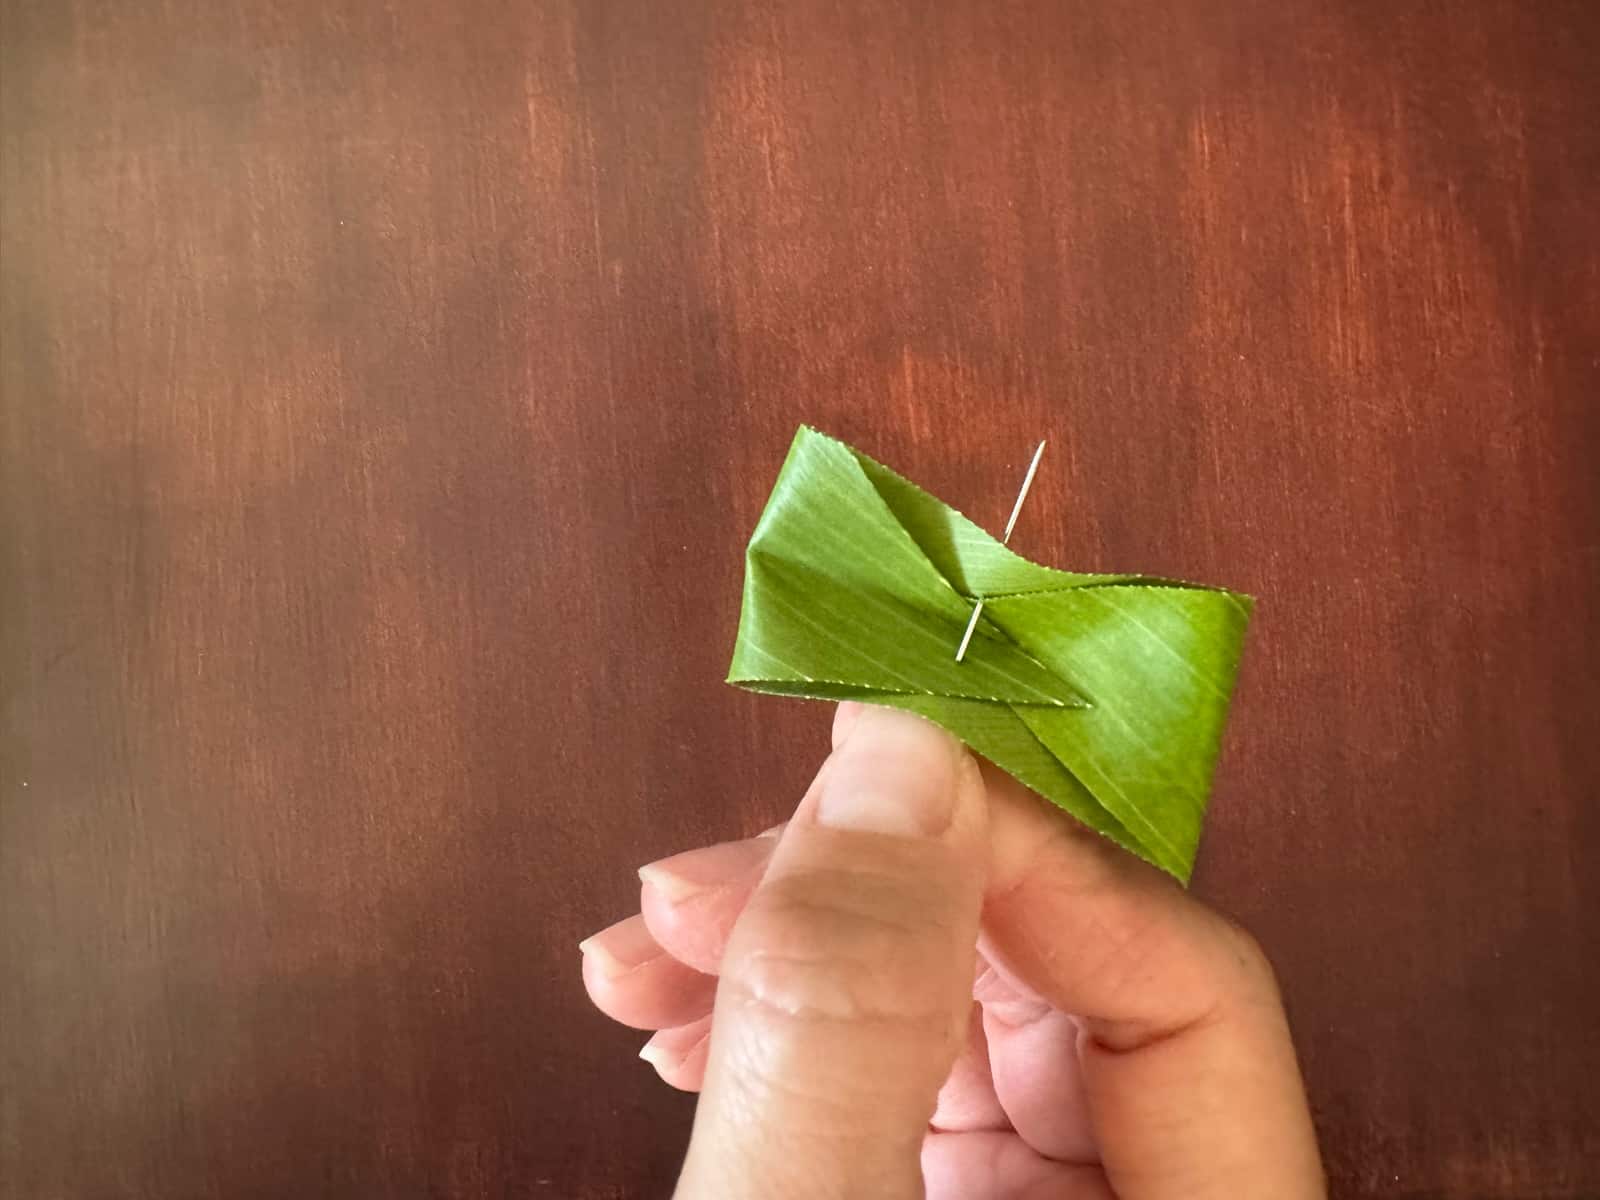
3. Bring the ends of each strip together, overlapping the ends and pinching the middle.

4. String your needle and sew through the pinched strip. Make sure you sew through all of the overlapped ends.
5. Take another leaf and do the same, in an opposite direction, forming an X.
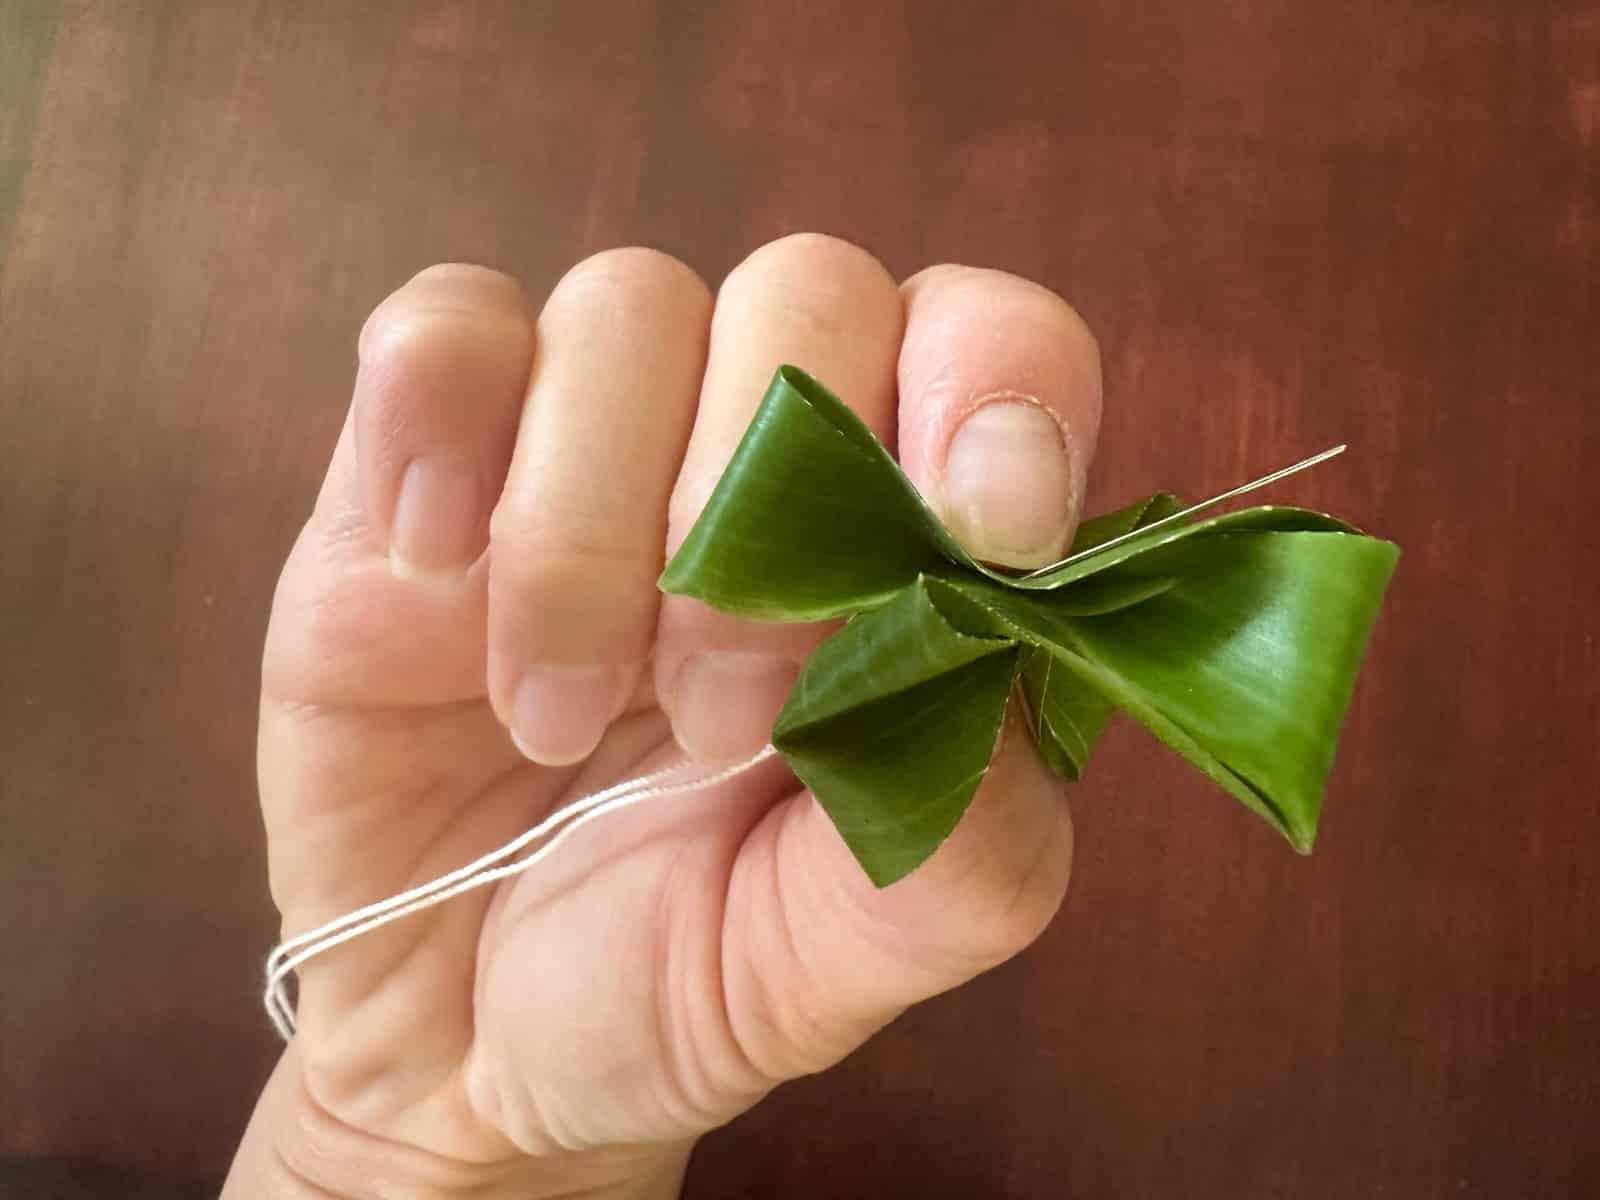
6. Continue the process six times.
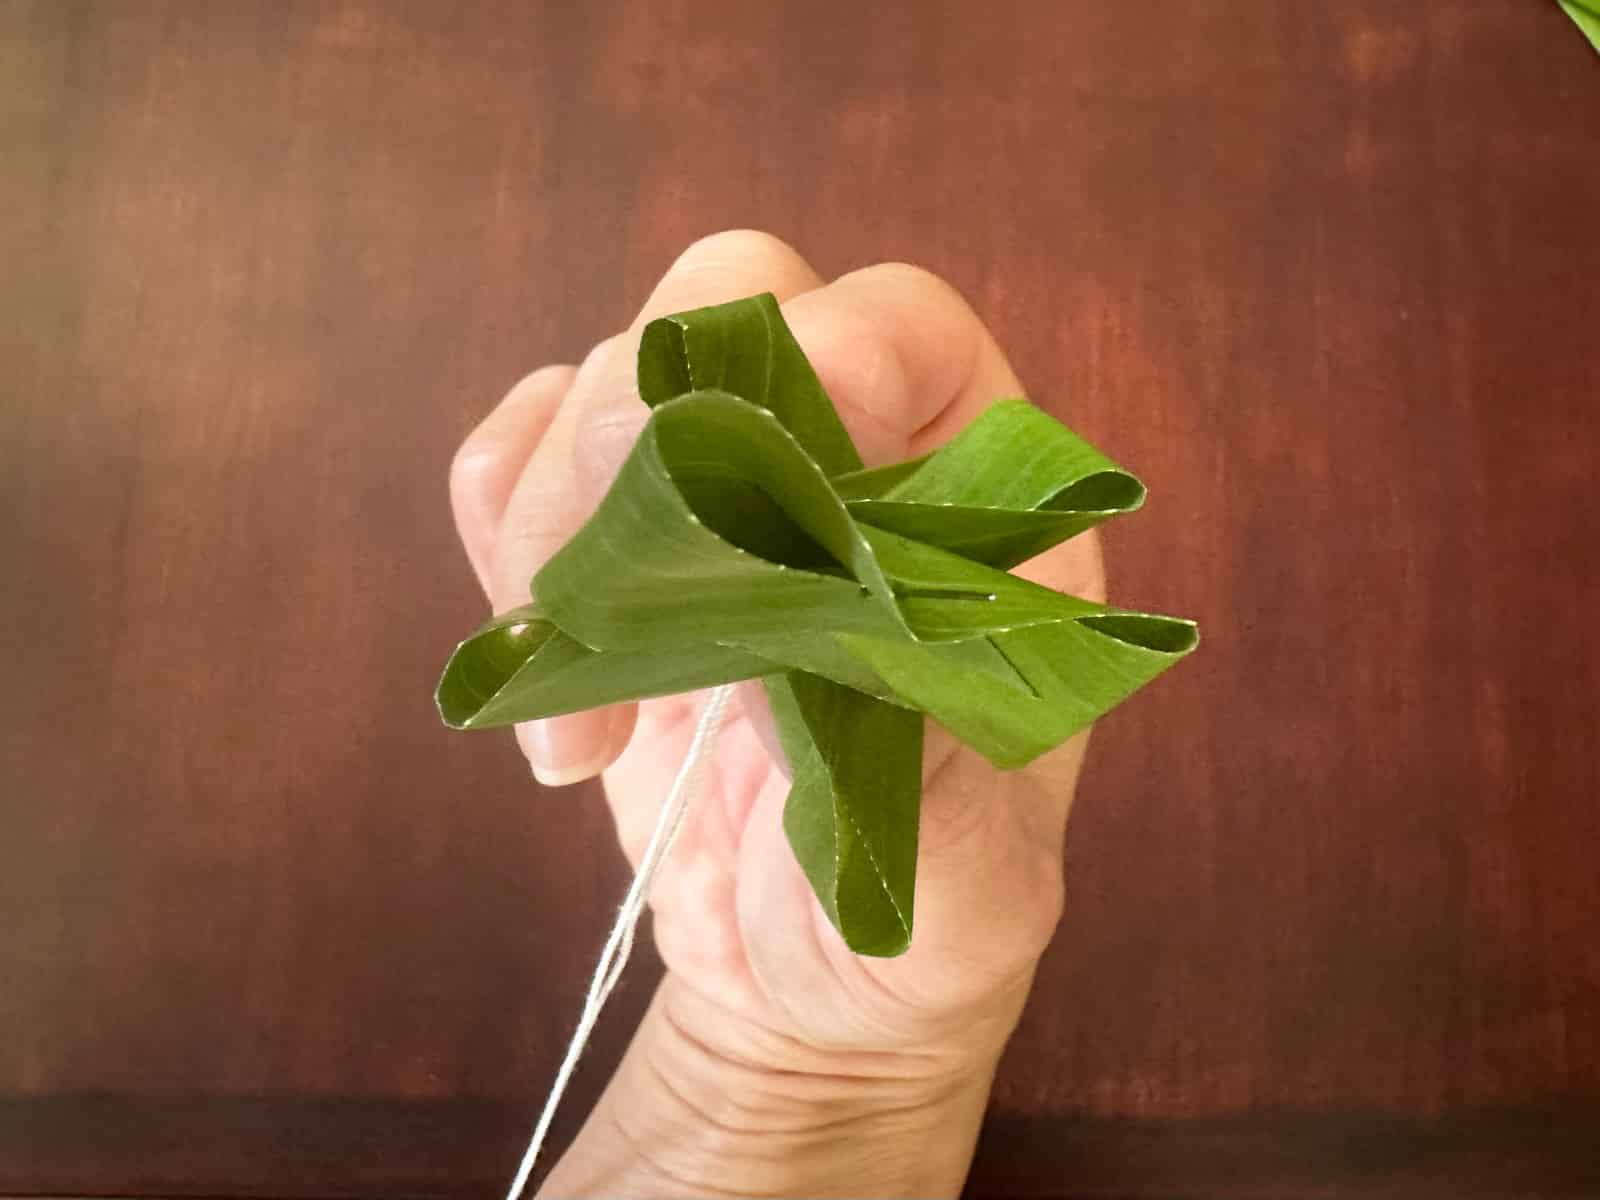
7. Add a Kukui nut between each bunch of six leaves, pushing the materials gently and closely together.
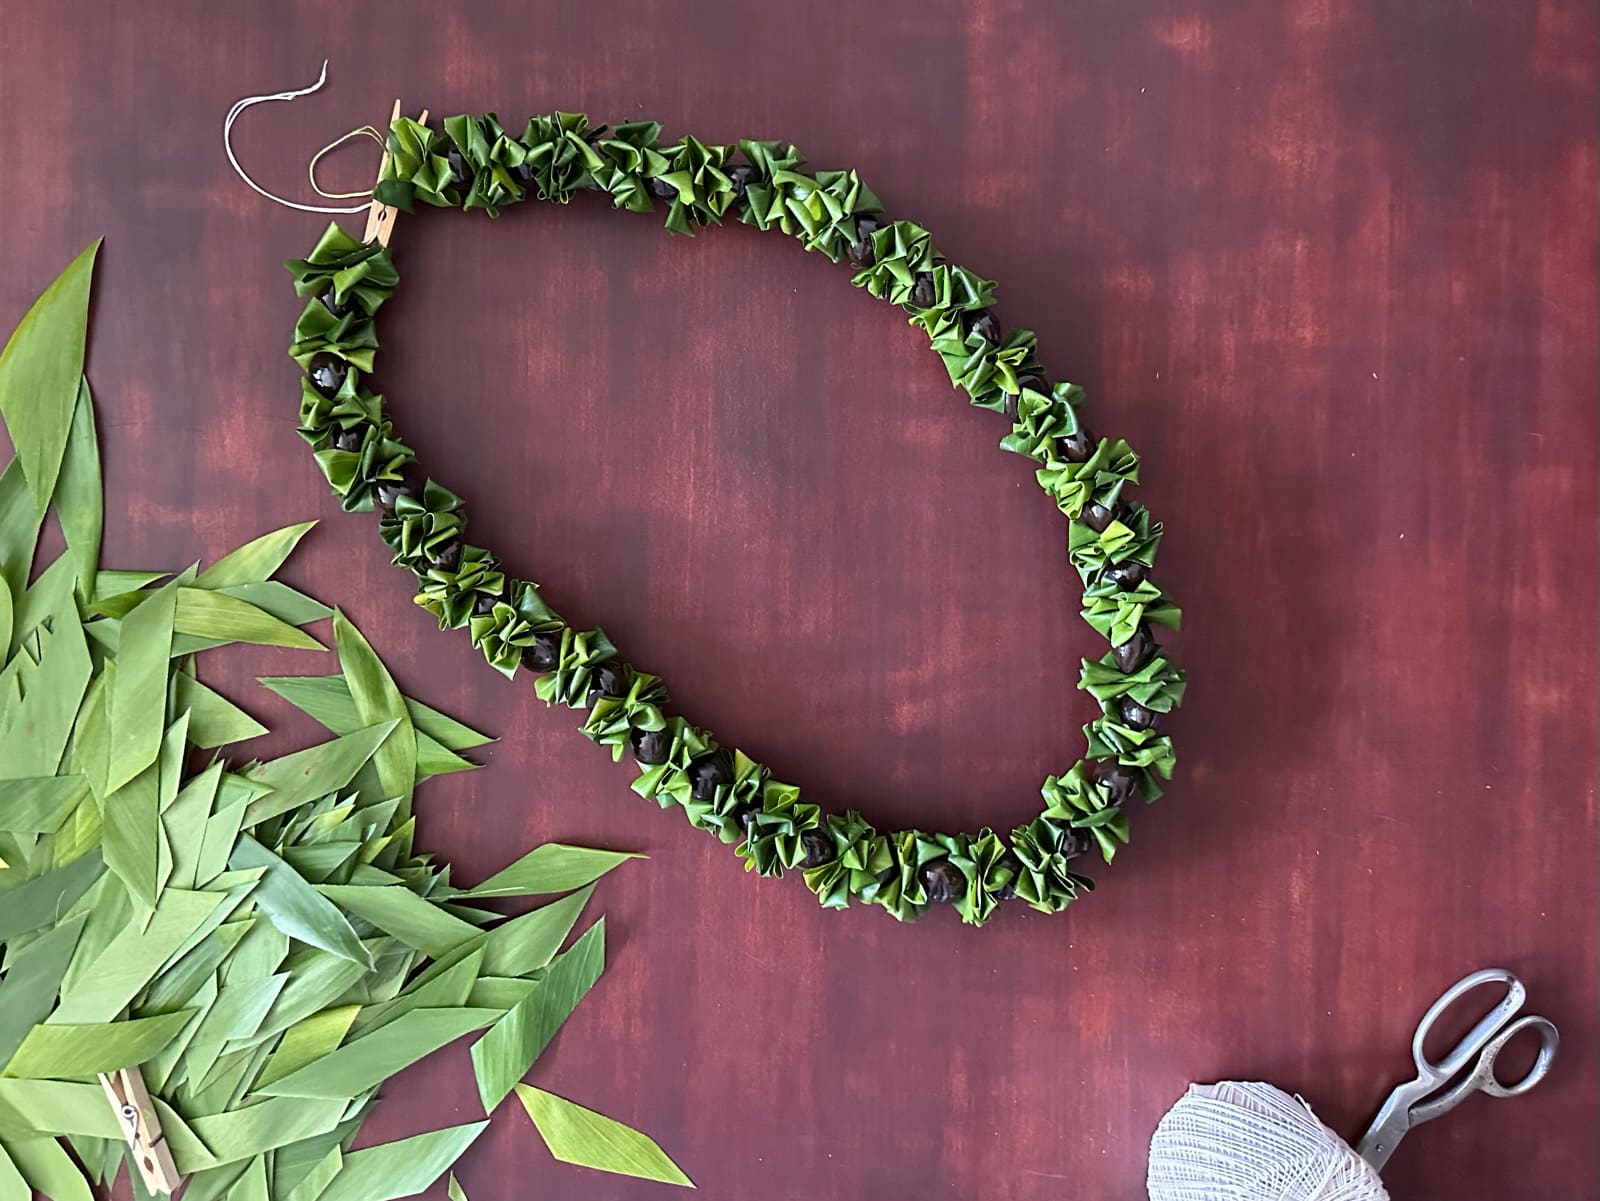
8. If storing overnight, secure the ends with a wooden clothespin instead of tying the ends of the string together. Keep the lei in a produce bag or sealed container in the refrigerator.
9. Tie the lei together just before gifting it. Often, fresh materials soften, so you’ll want to gently push the materials closer together to prevent the string from showing between the material. Enjoy!
No Comments